Today on the blog I'm excited to introduce my brother, Grant Johnson. He is an amazing photographer who specializes in night photography.
I asked him if he'd share some night photography tips periodically with all of us and he was kind enough to agree. I hope you enjoy his first post and the free downloadable cheat sheets at the end of the article, too!
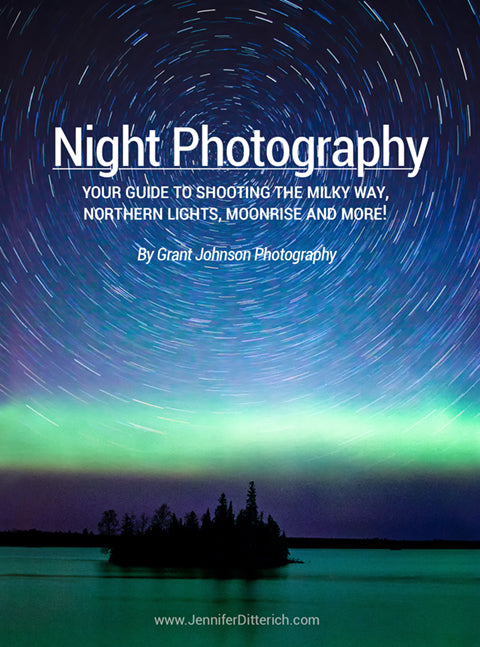
Intro to Night Photography
Good day! I am Grant Johnson, Jennifer’s little brother. Over the past couple years I’ve been dabbling with nighttime photography & I’ve gotten hooked on hunting for shots of the Northern Lights & Milky Way. For any of you that might be interested in venturing out to make your own nightscapes, I thought I would share some things I’ve learned along the way.
The how-to’s of night photography vary greatly depending on what it is you want to shoot. Tactics used to capture the Milky Way, for instance, won’t work well for catching a moonrise, or the Northern Lights. Libraries could be filled with books detailing the infinite combinations of scenes, equipment and settings to use. It can be intimidating, but it is easy to get started with a few basic tips. I’ll be covering some of those starter tips here and in future installments.
Taking Control of the Camera
Most cameras are competent at capturing a portrait or a sunlit landscape. Just push the button. The camera will focus and determine the right exposure - maybe even pop the flash if light is dim. Night photography requires a more manual approach.
For many people this might be your first exploration away from your camera’s Auto Modes and into Manual settings. It can be overwhelming to manage these settings at first, but it gets easier. Fortunately most things at night don’t move too fast. You’ll usually have ample time to set up your shot. Here’s how to take control back from the camera:
Exposure
With film cameras, photographs are taken by opening a shutter to let light focus onto film. Parts where the film is exposed to light react chemically to record the image. More light coming at the film makes for a brighter image. Digital cameras work similarly, but the film is replaced by a light sensor. The Exposure Value (EV) is a way of figuring how that light affects your picture.
Exposure Value is typically given as a whole number like 0, 1, 2, 3… where each EV increment (or “stop”) is half as much light exposed as its previous neighbor. So an EV of 1 means you have half as much light exposing the image as EV 0. EV 2 is half as bright as EV 1. This means that a shot at EV -1 (oh yeah, you can go negative!) is four times brighter than one at EV +1, or eight times brighter than EV +2.
Below here are the parts that go into determining Exposure Value. Note that these names & abbreviations may differ by camera brand, but the concepts are universal. Also don’t worry too much about memorizing specifics - I’ll give some cheat sheets later:

A) Shutter Time (Tv)
B)Sensor/Film Sensitivity (ISO)
C) Aperture Width (Av)
So What?
Okay, that was a lot of stuff to throw at you at once. What’s the point of it all? It all comes down to how you go about picking your Exposure Value. If you’re shooting at night, you want a lllllllloooooowwwwwww EV to get as much light as possible, so you’re not left with an under-exposed (all black) image.
As discussed above, EV is determined by Tv, Av, and ISO. For that low EV for night photography your options are:
- Longer Time Values. Downside: anything that moves will blur.
- Larger aperture widths (lower f/ numbers). Downside: wider apertures are harder to focus, and really wide aperture lenses tend to be costly.
- Higher ISO to increase sensitivity to light. Downside: noisy/grainy images.
It’s a balancing act across the three settings. Since Tv, Av and ISO all make full Stops by increasing/decreasing the same amount of light, you can easily change one to compensate for another. Going one stop faster Tv and one f-stop lower Av will net you the same exposure.
So if you’re shooting something that’s moving - like the Northern Lights - you’ll want a faster shutter speed to avoid blur, so you’ll need a wider aperture and/or higher ISO value to compensate.
If you’re doing long-exposure shots to capture star trails, maybe leaving the shutter open for minutes or hours, you would want a lower ISO value to keep from over-exposing the image and to reduce noise/graininess.

Cheat Sheets
Cheat Sheets were promised! Here are some combinations that I’ve found useful in various situations. Give them a try, and feel free to experiment up & down with the settings. You can download printable 4x6 cards with each of these cheats here.
Tv: 14 to 22 seconds. Longer shutter times will lead to stars “streaking” through the sky as the earth rotates.
Av: As wide open as you can get your lens - f/1.4 - f/2.8 are great, but most stock lenses can’t get below f/3.5
ISO: 1600 - 6400 - noise can be cleaned up easily in Lightroom or Photoshop
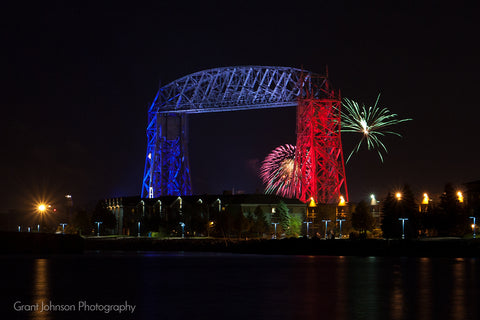
FIREWORKSTv: 1 to 6 seconds. Longer shutter times will capture more of the fireworks streaking through the sky, but too much can look cluttered.
Av: Wide open may be fine, but can be narrowed down to f/5.6 if fireworks are too bright.
ISO: 400 - 1600 - Lower may be preferable if you have people in the foreground that you don’t want lost in noise.
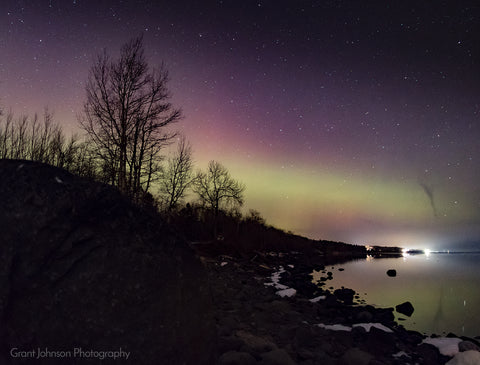
NORTHERN LIGHTSTv: 5 to 10 seconds. Longer shutter times will bring in more light from the aurora, but the dancing lights can appear “smeared” if open too long.
Av: Wide open
ISO: 1600 - 3200, maybe 6400 if lights are faint or moving rapidly.
MOONRISETv: Tricky - depends on phase of the moon, but it can be like shooting direct sunlight. For full moon I’ve done 1/10s or as fast as 1/500s.
Av: For bright moonlight, can tighten to f/14
ISO: 100 - 200 is probably adequate. Usually better to increase Tv than ISO to keep noise down.
STAR TRAILS
Tv: Switch to Bulb Mode (usually just past the 30-second mark) and hold the shutter button down to keep the camera open as long as you can stand it (1-2 hours or more! Stars will streak in circles around the North Star (tail end of the little dipper) as the Earth spins. The longer you keep the shutter open, the longer the star trails grow.
Av: f/3.5 to f/5.6 should suffice, you may choose to tighten up to f/8 or more if your pictures come out hazy from stray light.
ISO: 100
Remember, these are just starting suggestions. Enjoy playing around with these settings and adjusting to see what works the best for you and don't forget to download your free cheat sheets!

To Be Continued...
Thank you for reading along! I do hope that you’ve found some of this information to be helpful. Stay tuned for future posts which will focus less on the technical side and give more general tips for planning your outings.
- - - - -
Thank you, Grant, for this fantastic article! If any of you would like to see more of Grant's photography, check out our Nature at Night collection. And don't forget to download your free Night Photography Cheat Sheets! Enjoy!